Mailchimp integration
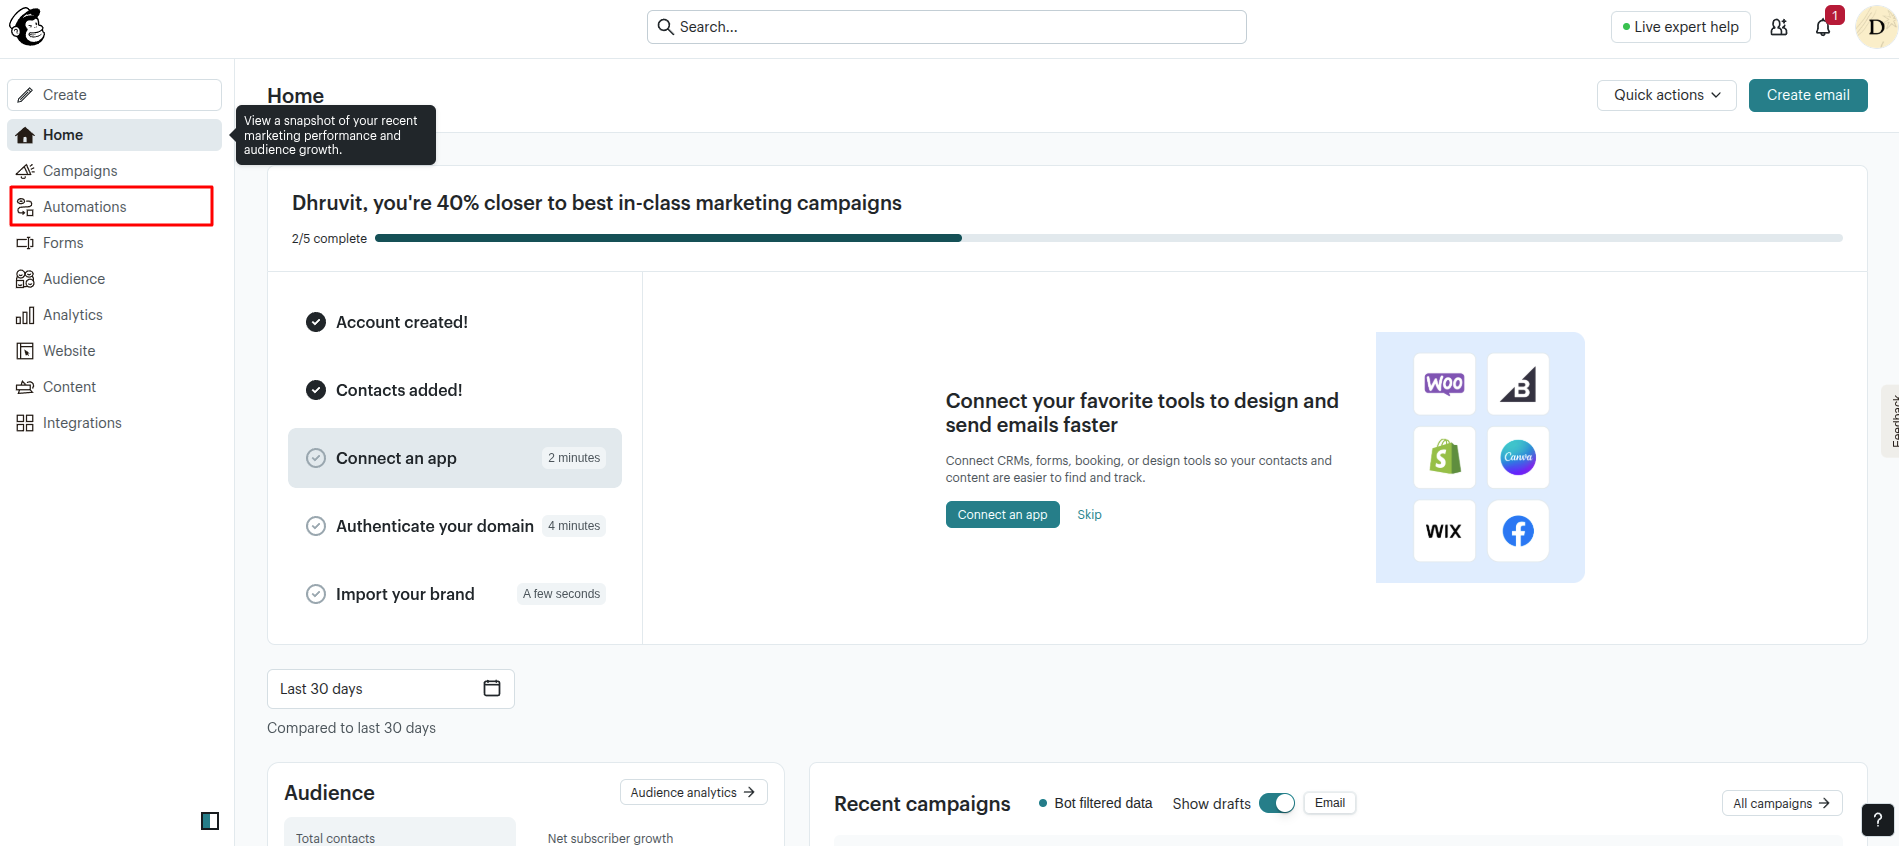
1. Mailchimp dashboard → left menu → click Automations
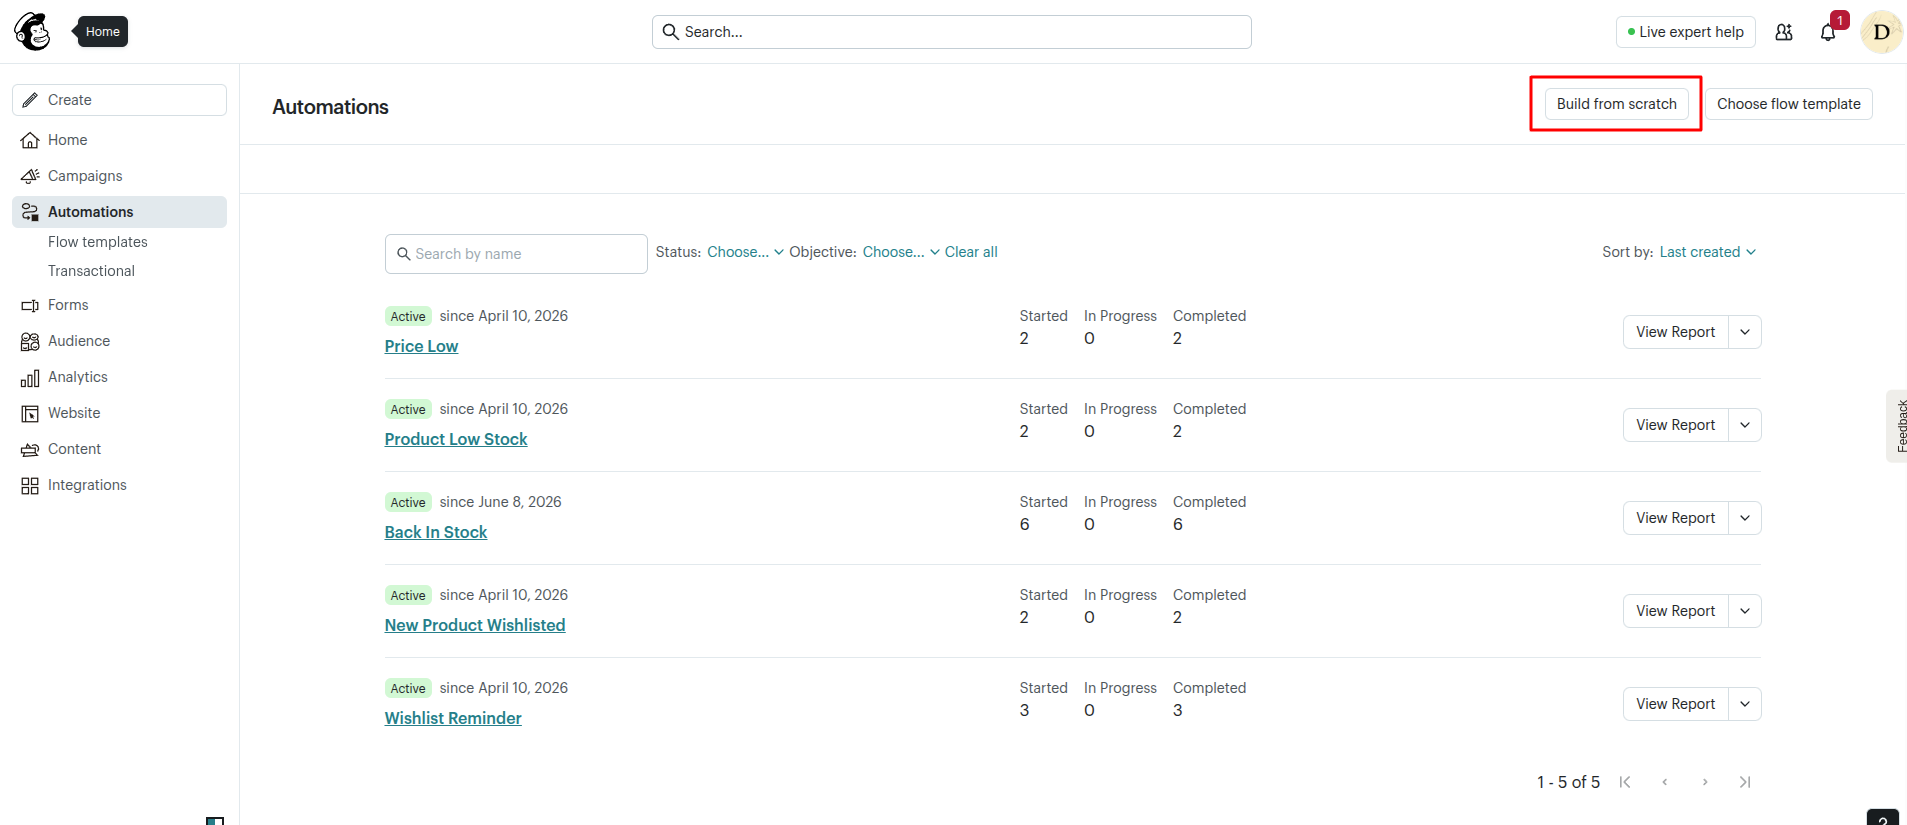
2. Click Build from scratch (top right)
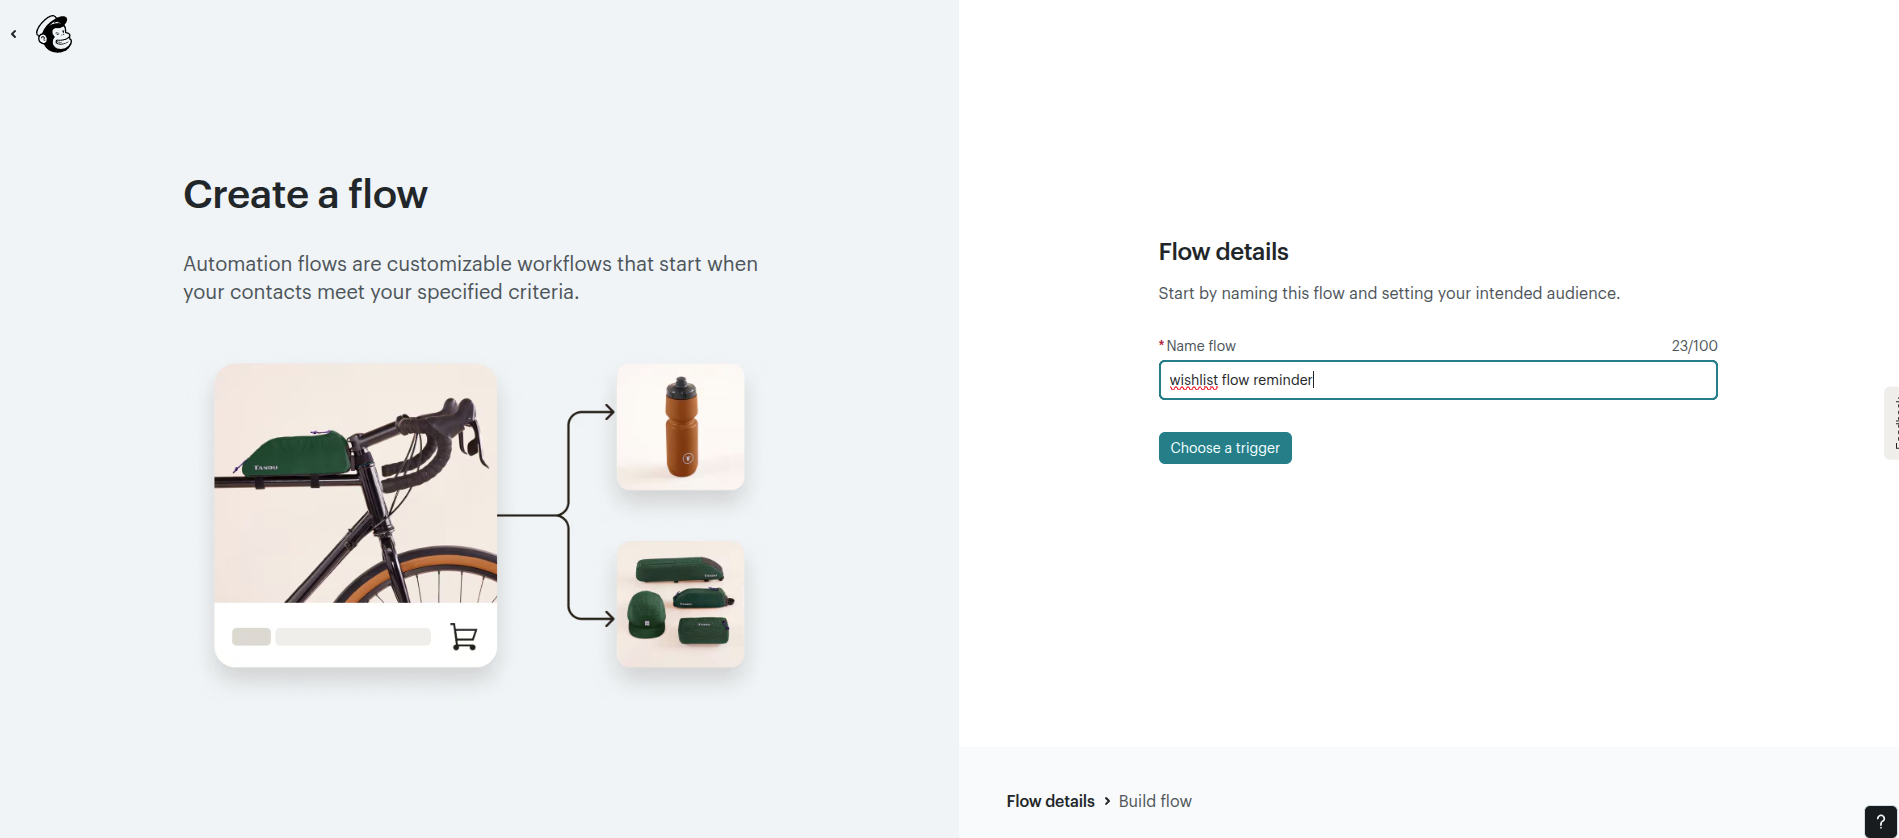
3. Flow details screen → type flow name (e.g. "wishlist flow reminder") → click Choose a trigger
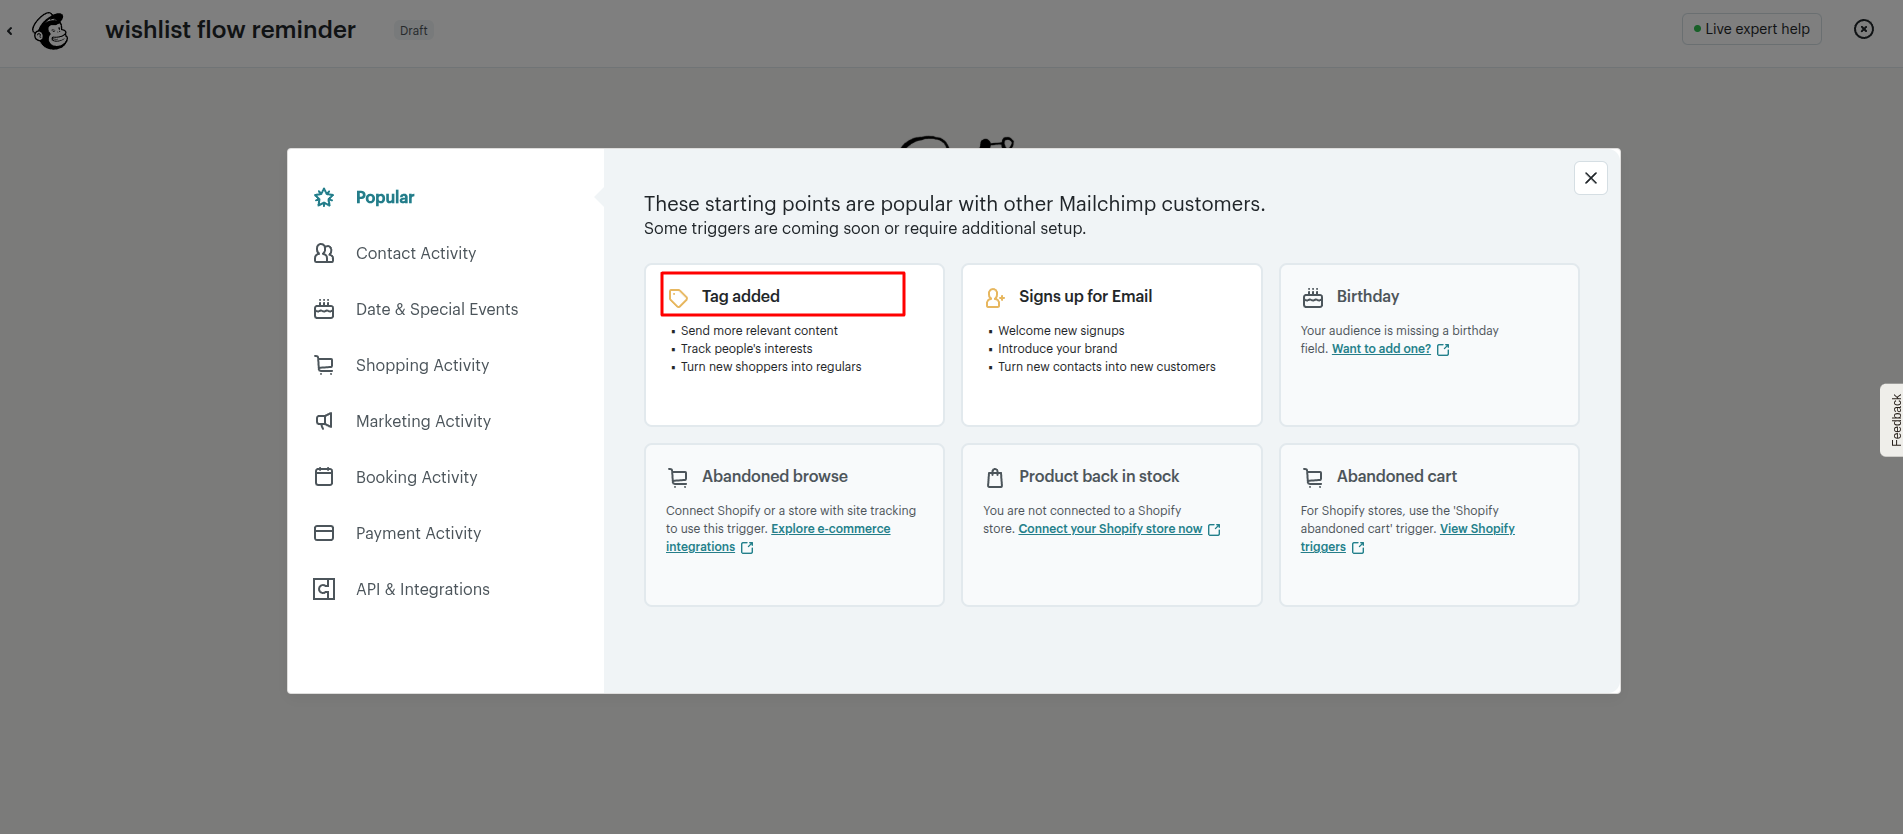
4. Trigger popup show → Popular tab → click Tag added
5. Tag dropdown open → list show five app tags (one per mail type):
- wishlistFlowBackInStock — tag apply when out-of-stock wishlist item come back in stock. Alert customer product available again.
- wishlistFlowLowPrice — tag apply when wishlist item price drop. Alert customer good time to buy.
- wishlistFlowLowStock — tag apply when wishlist item stock going low (few qty left). Create urgency, buy before sold out.
- wishlistFlowNewItem — tag apply when customer add new item to wishlist. Confirm item saved, maybe cross-sell.
- wishlistFlowReminder — tag apply on schedule (e.g. X days after add) to remind customer item still sitting in wishlist, nudge complete purchase.
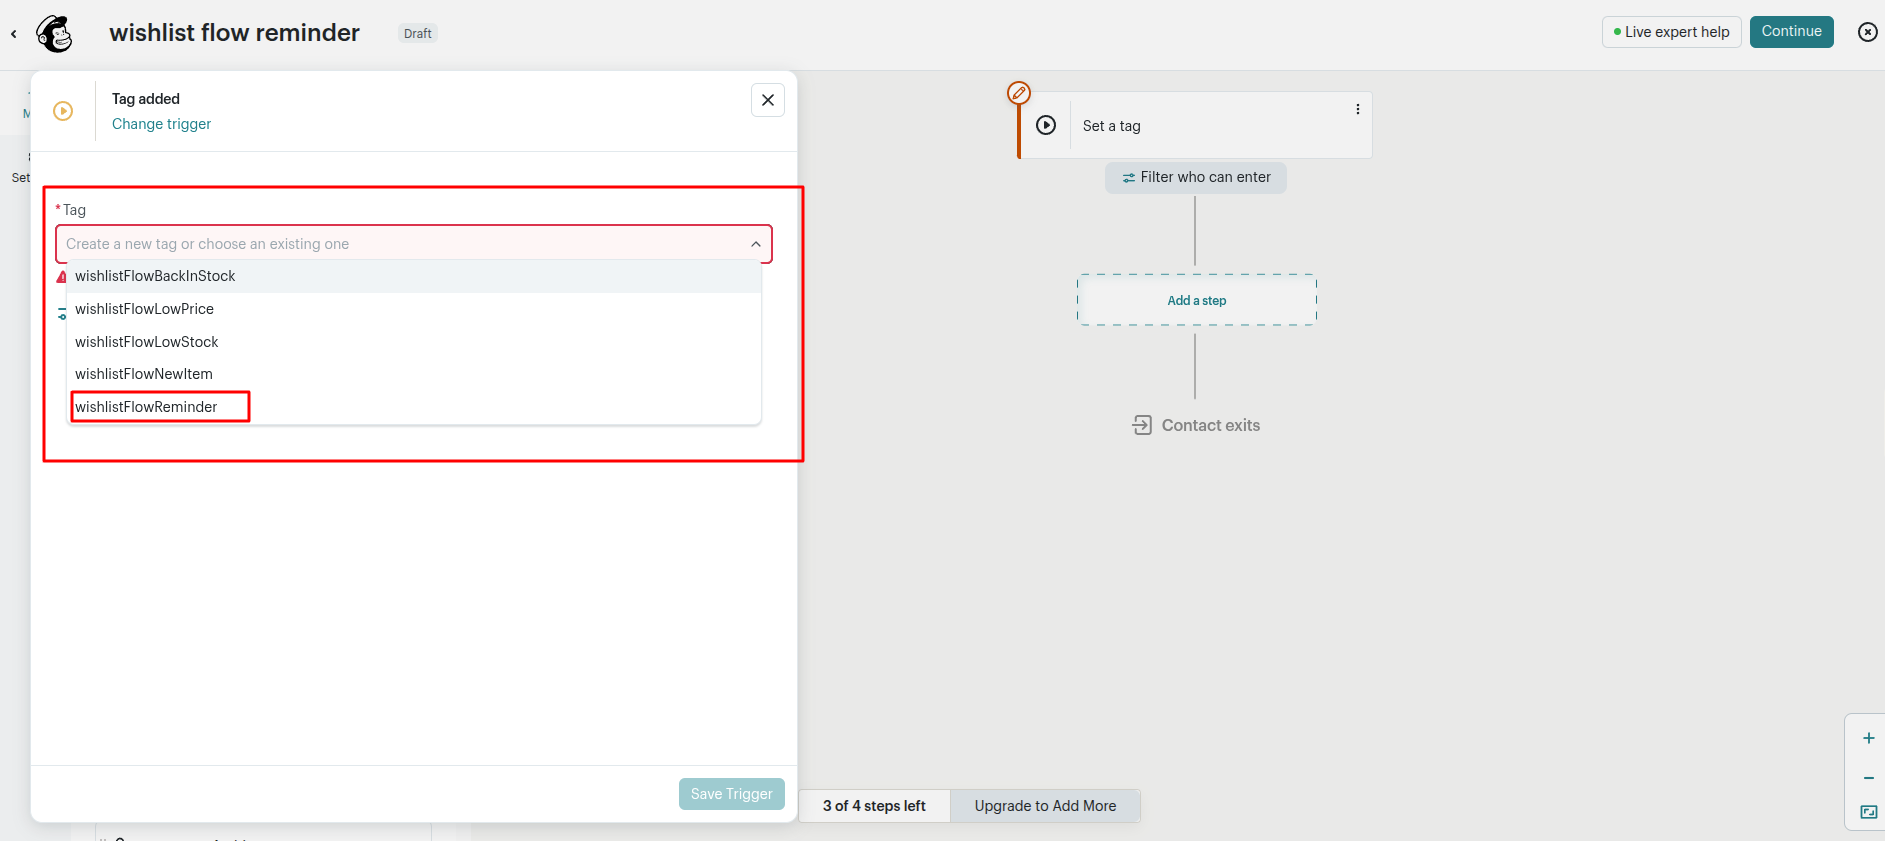
Pick tag matching mail type you building → click Save Trigger
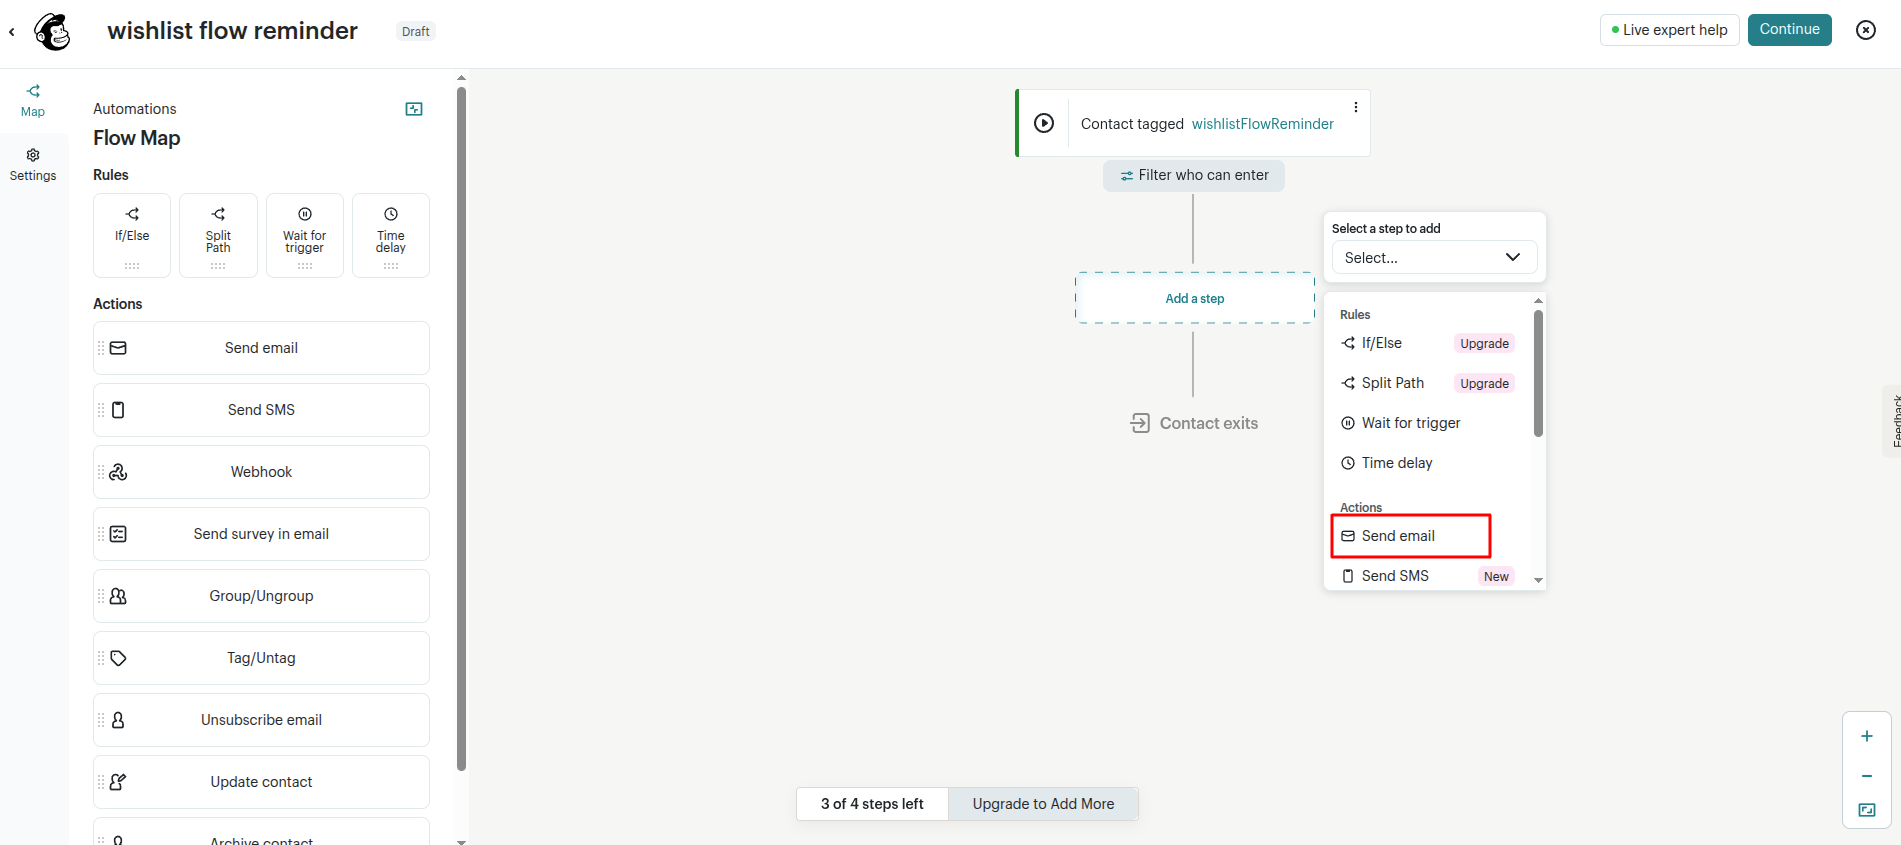
6. Flow canvas show trigger box → click Add a step → select Send email action
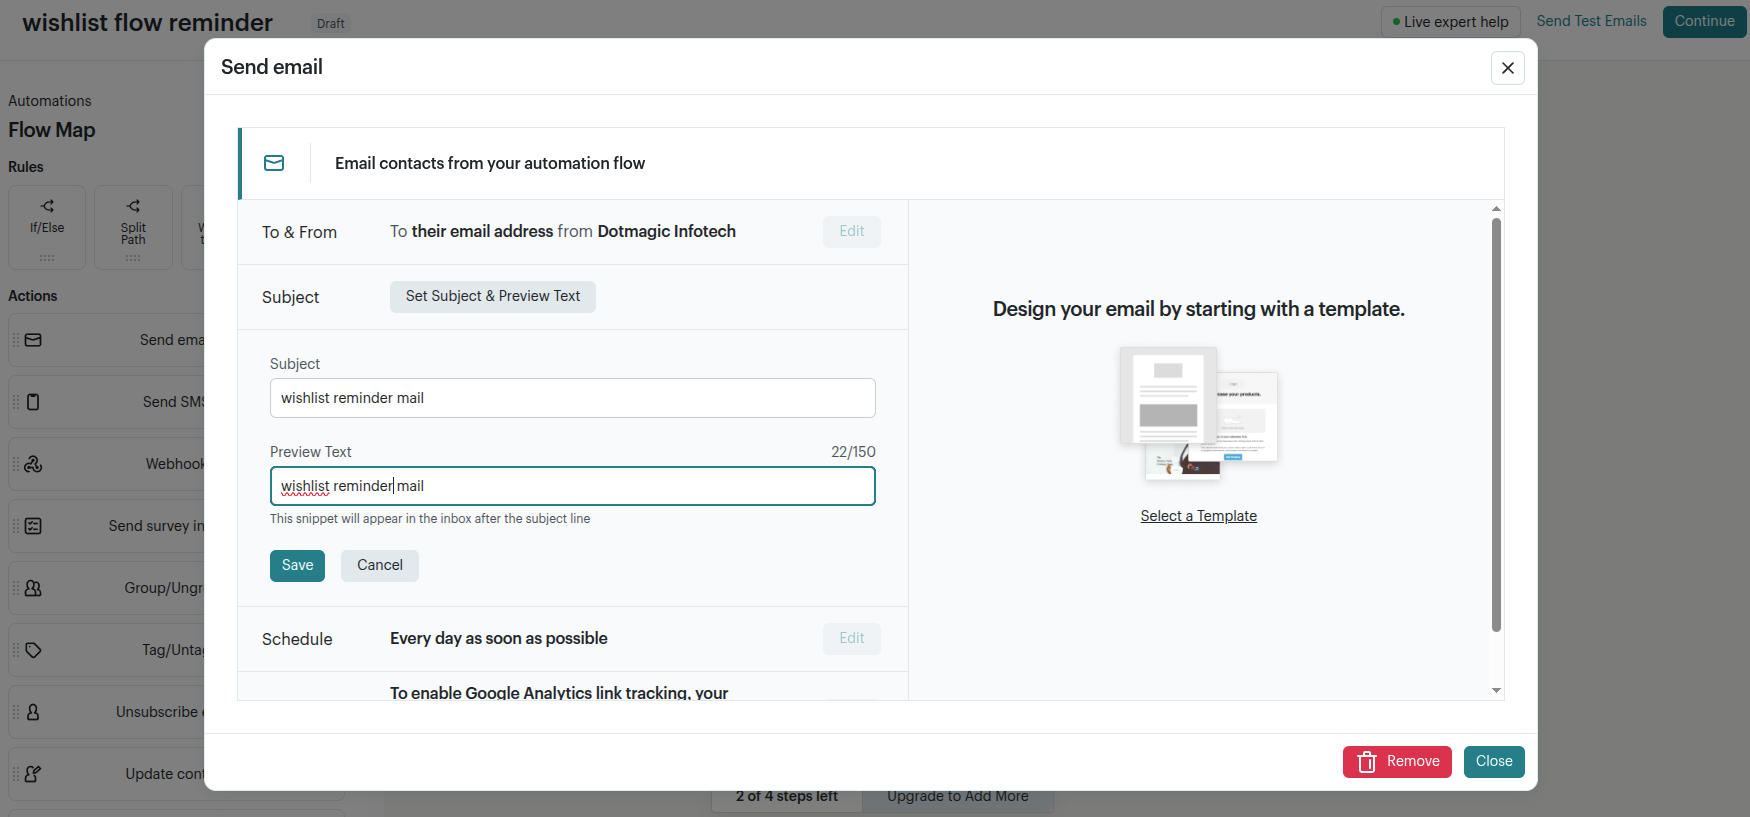
7. Send email popup open → click Set Subject & Preview Text:
- Subject — type subject text
- For dynamic subject from app use *|SUBJECT|*
- Preview Text — optional, type same or diff text
- Click Save
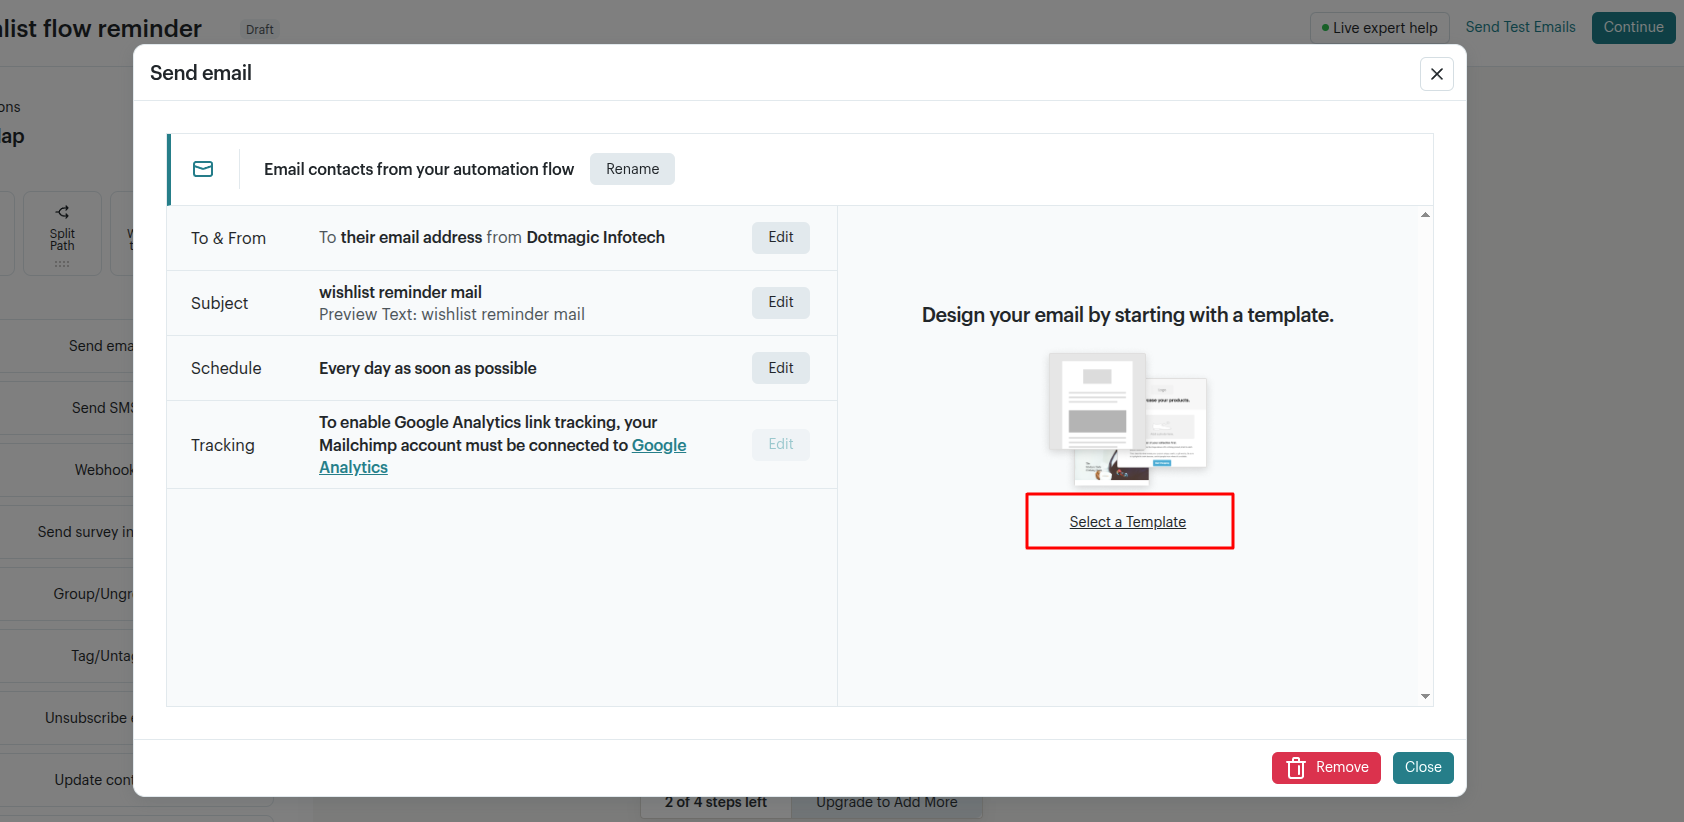
8. Popup show updated Subject + Schedule → click Select a Template
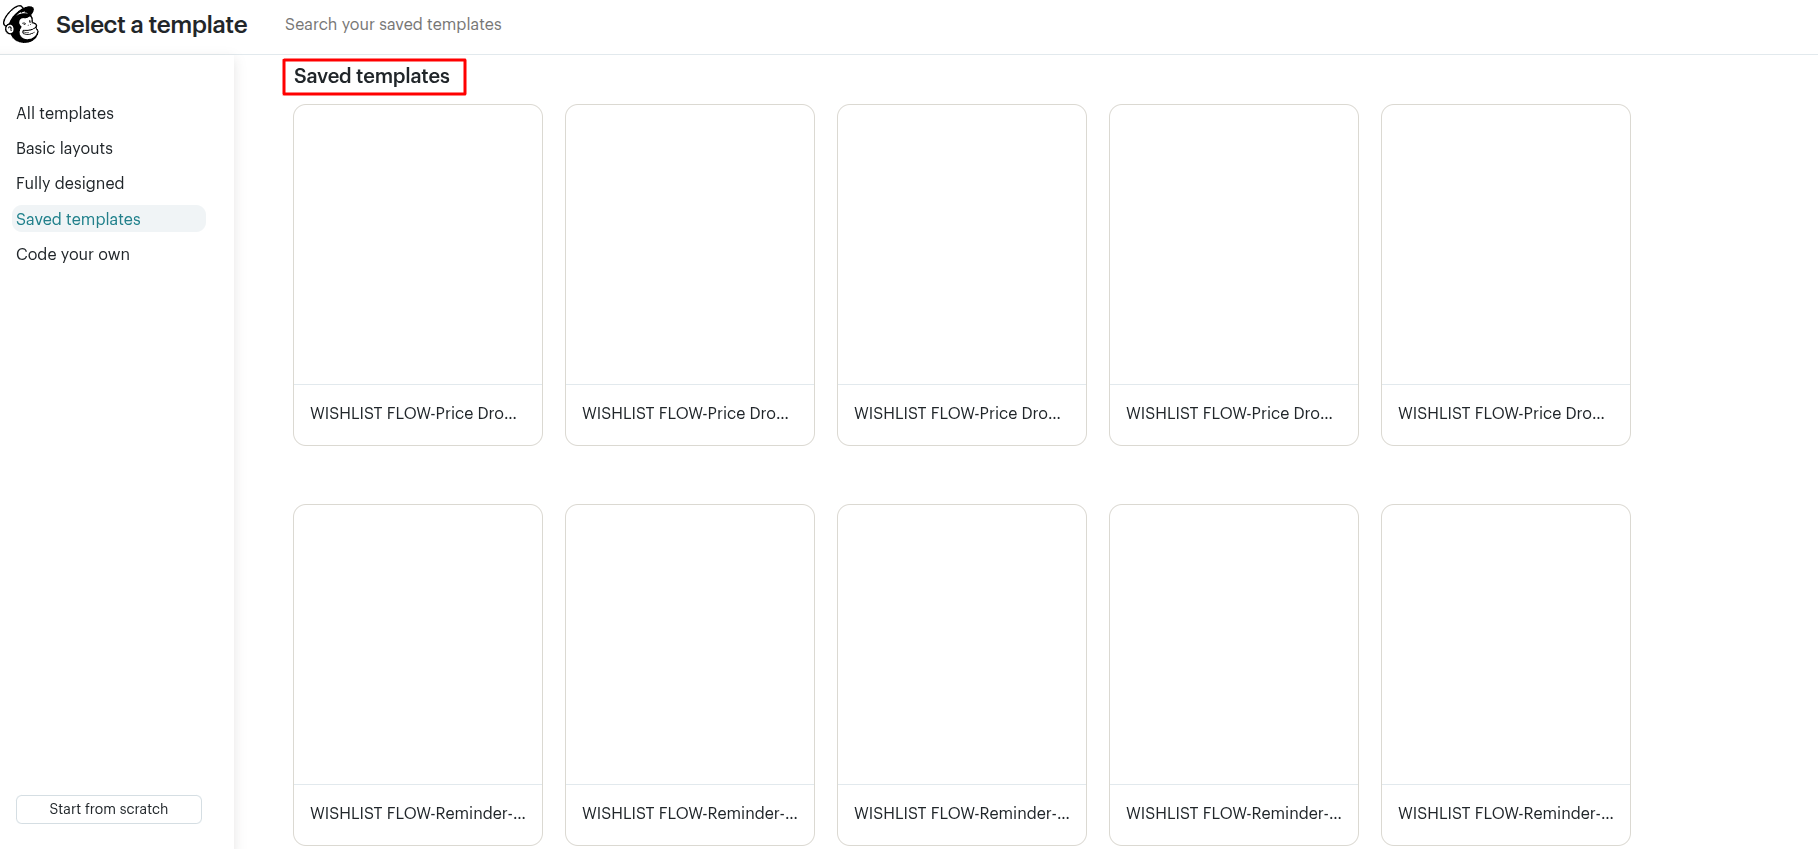
Template library open
→ left menu click Saved templates tab
→ find app's pre-built templates (e.g. "WISHLIST FLOW-Reminder-...").
Important: template style (Modern / Dark / Minimal / Luxury / Playful) must match same style you selected in app Settings → Features → Email Templates. Pick template matching that same style, else mismatch look/branding on live mail.
Naming pattern: WISHLIST FLOW - [Mail Type] - [Style] - [store-name]
So for reminder mail, if app setting has "Modern" selected → pick WISHLIST FLOW - Reminder - Modern - xyz template here.
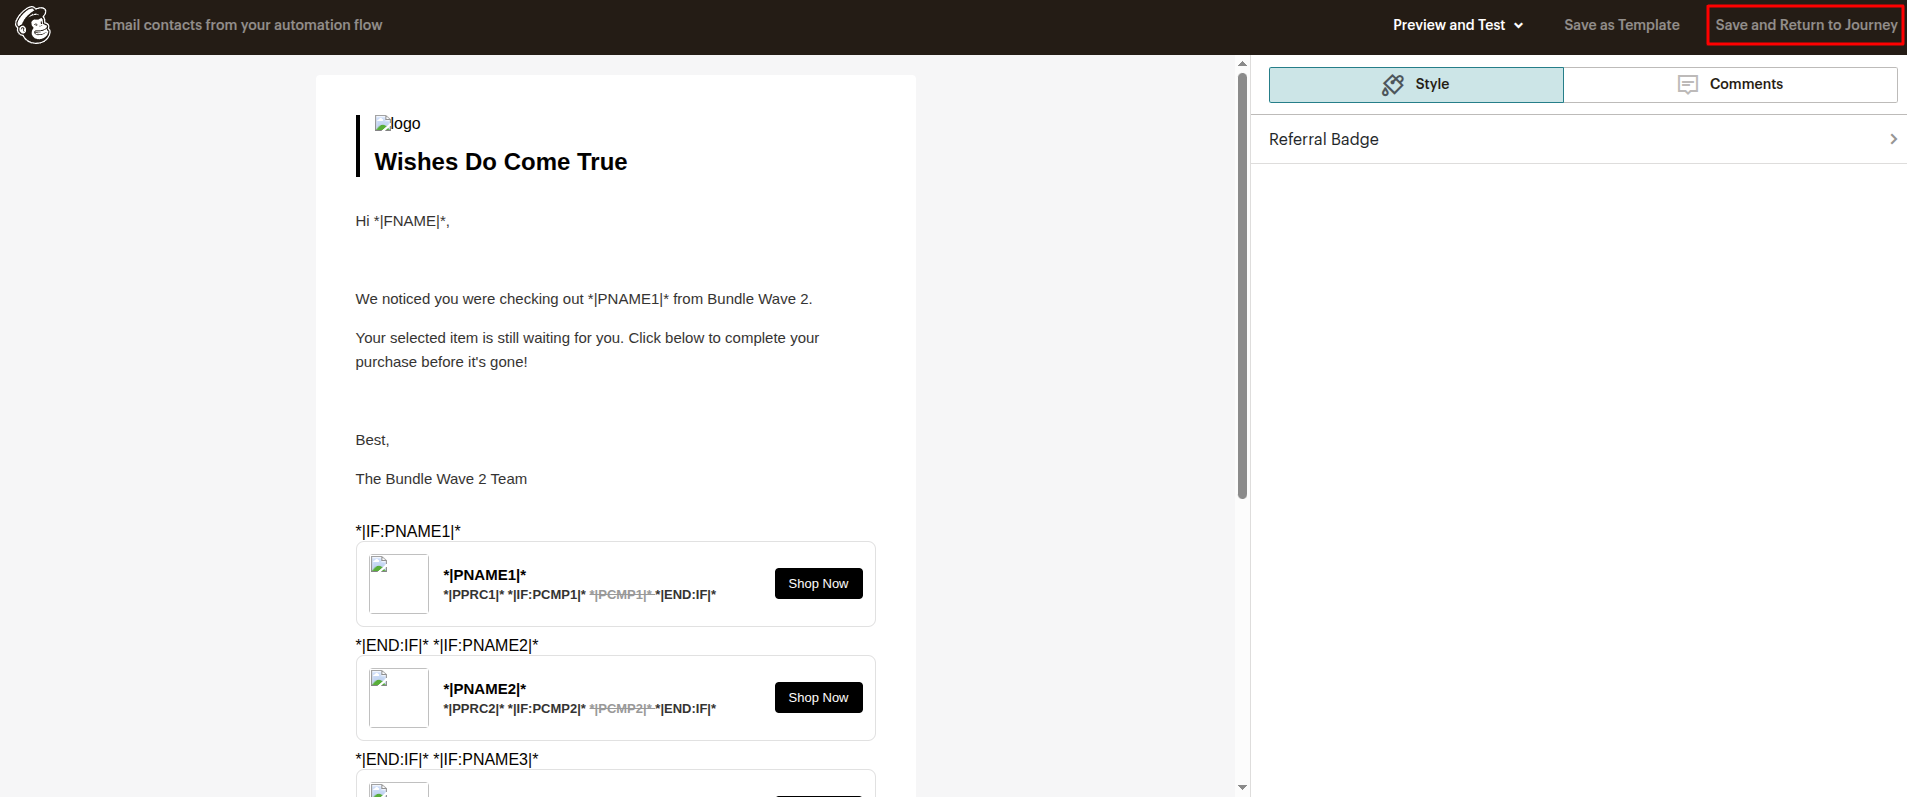
9. Click matching template → email editor open → review content → click Save and Return to Journey (top right)
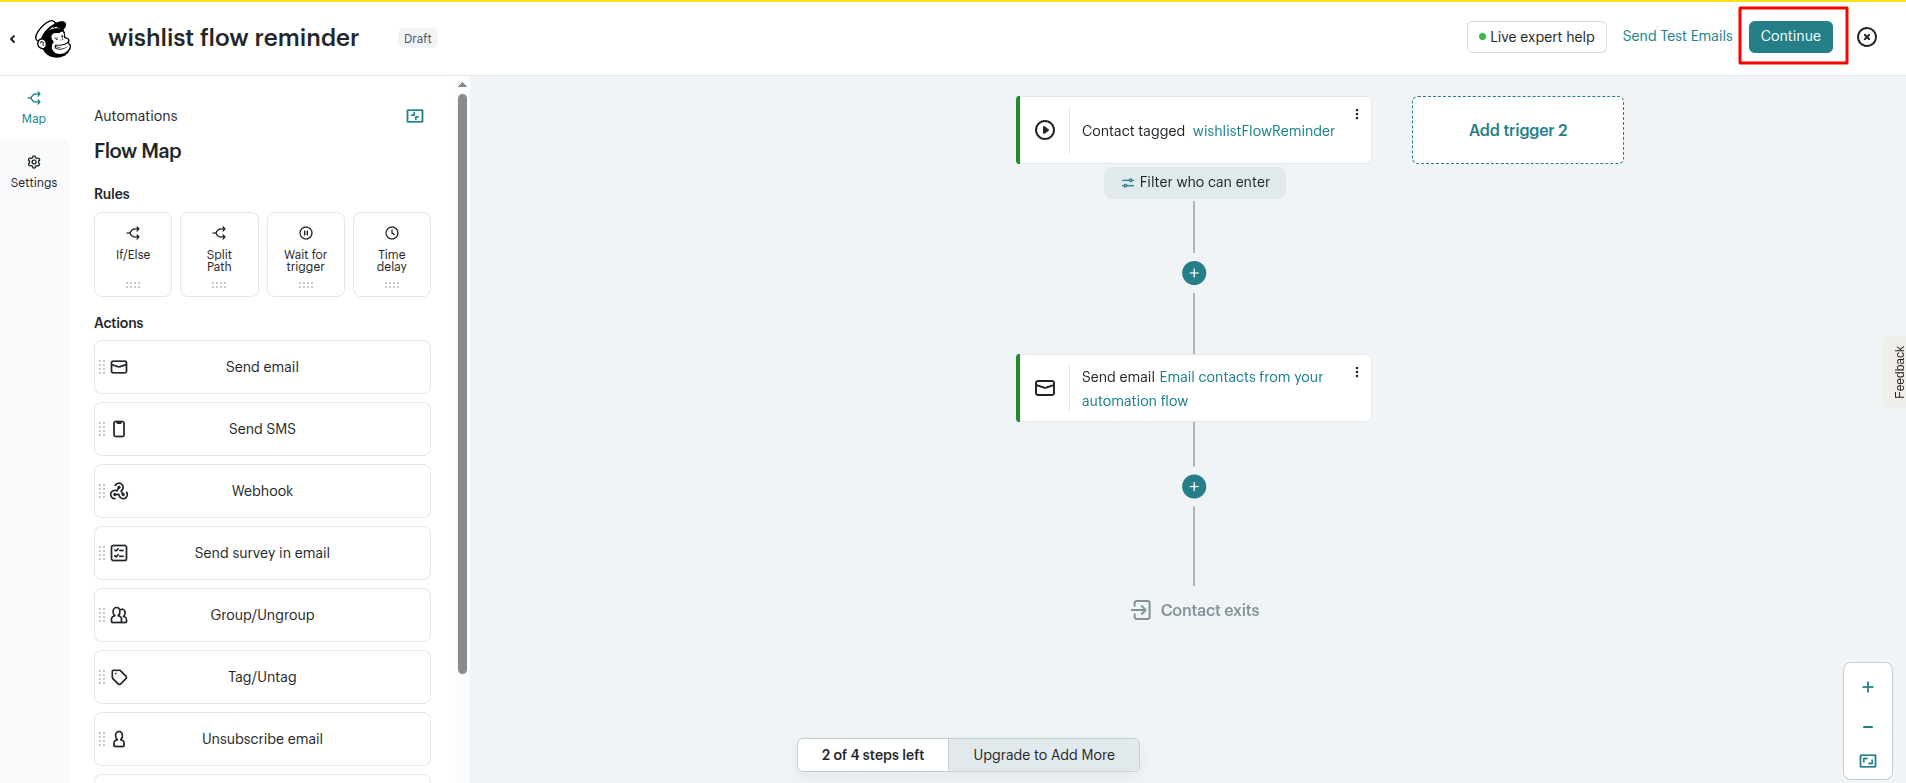
10. Back to flow canvas → step show "Send email" configured → click Continue (top right)
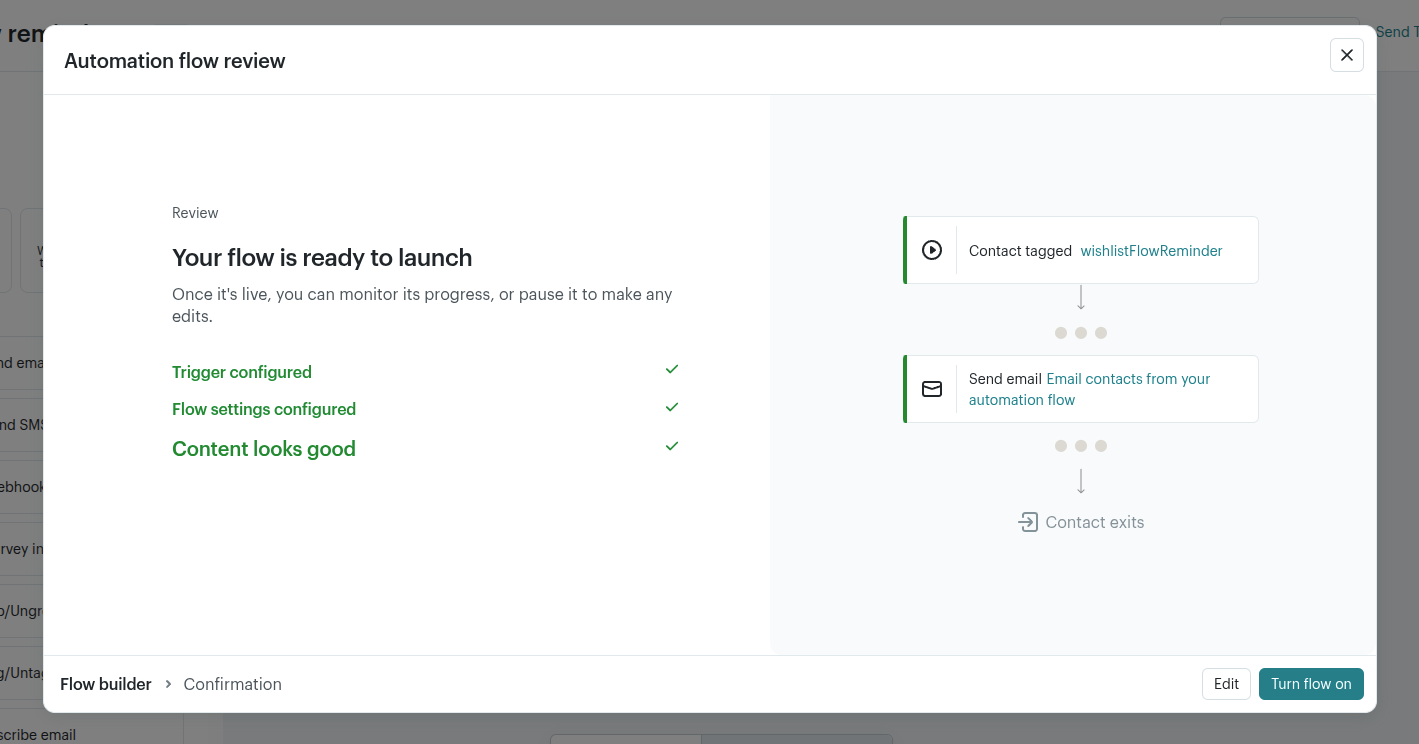
11. Review screen show
"Your flow is ready to launch" with checkmarks (Trigger configured / Flow settings configured / Content looks good) → click Turn flow on
12. Create flow for each type of mail