Customization
Wishlist Page - Customization Guide
Learn how to configure the layout, behavior, and style of your store's dedicated wishlist view. This guide will walk you through setting up how customers interact with all their saved products in one place.
1. Active Tab Selection
To access these settings, ensure that the Wishlist Page tab is selected at the top of your customization dashboard.
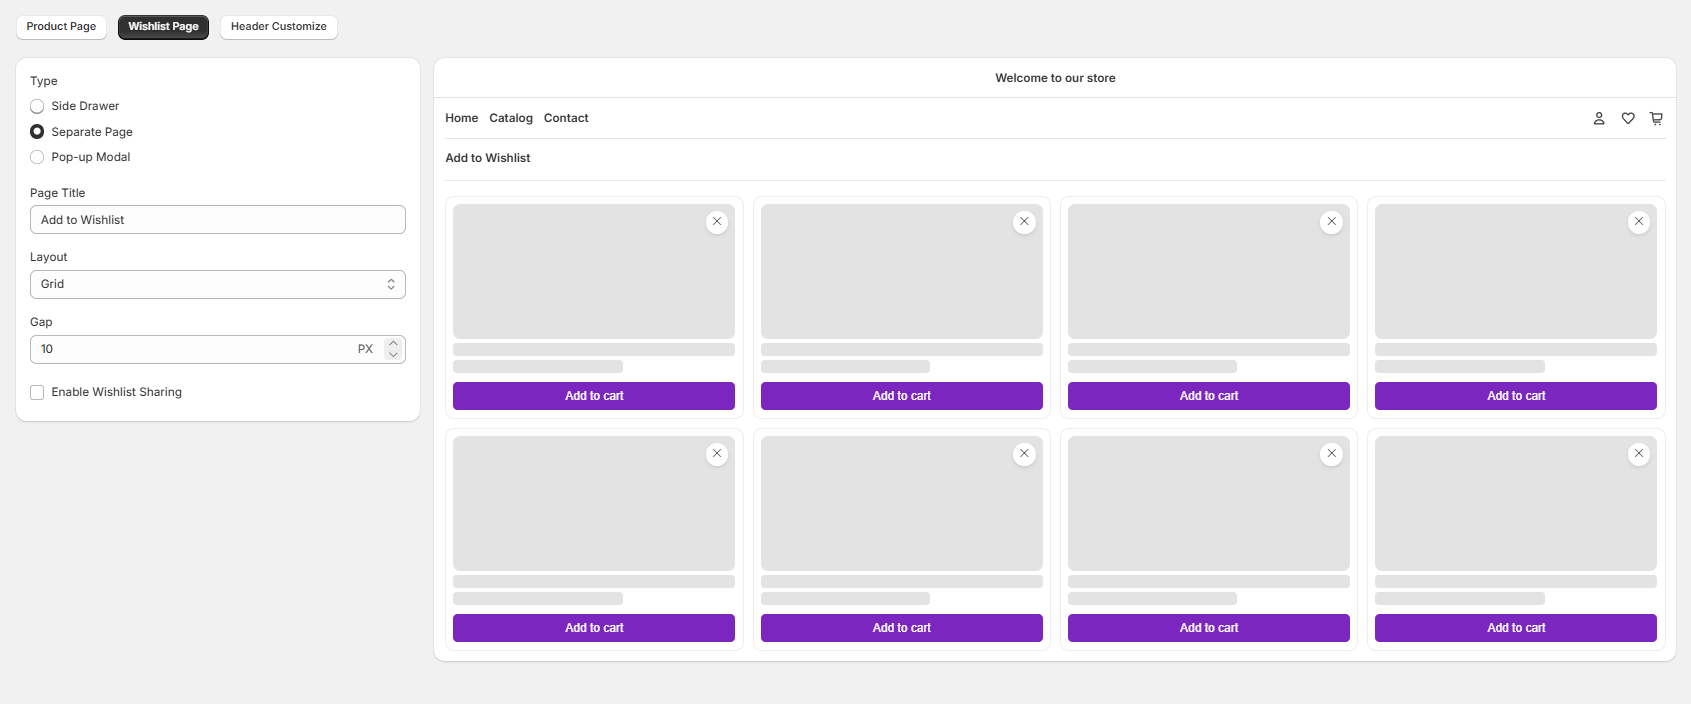
2. Configuration Settings (Left Panel)
The left sidebar controls how the wishlist content is rendered and shared on your storefront:
A. Display Type
Choose how you want the wishlist collection to appear when a user opens it:
- Side Drawer: Opens the wishlist as a sleek sliding panel from the right or left side of the screen.
- Separate Page: Dedicates an entirely new page layout for the wishlist.
- Pop-up Modal: Displays the saved items inside a centered overlay popup window.
B. Page Title
- Customize the main heading text displayed at the top of the wishlist section.
C. Layout & Spacing
- Layout: Choose the structure of your product listings (e.g., Grid layout to show items in organized rows and columns).
- Gap: Set the exact padding or distance between each product card in pixels/PX (e.g., 10 PX).
D. Social Sharing
- Enable Wishlist Sharing Checkbox: Toggle this option ON to allow customers to generate a unique link and share their favorite items with friends and family via social media or email.